
In this article, I will discuss the pros and cons of setting up AMP pages on your website (only for WordPress users), a step-by-step guide on how to enable AMP on your website with a simple WordPress Plugin for FREE, and last but not least, how to enable Google Adsense on your AMP pages for mobile.
Don’t get me wrong, I would definitely like to write an in-depth article discussing Google AdSense or AMP in the future. However, for today, this article is not the guide for a beginner because not everything will be explained in details from A to Z (I assume you have some background knowledge of AMP and Google AdSense). This is actually a spontaneous write-up upon reading a blog post “Pro and Cons of AMP pages-and why I decided to enable AMP” by YIN. I realize that some of you might be facing the same problem and probably asking:
How to enable Google Adsense on AMP Pages or Posts (for FREE)?
Many of us are tempted to increase the performance (especially the loading speed) of our website or blog by enabling AMP, but at the same time afraid of losing earnings from Google AdSense banners. It is true that AMP does not support pop-up, uses limited javascript and minimal HTML. However, having AMP set up for your website shouldn’t stop you from advertising. I am particularly referring the term “advertising” to Google AdSense advertising in this article.
What is AMP?
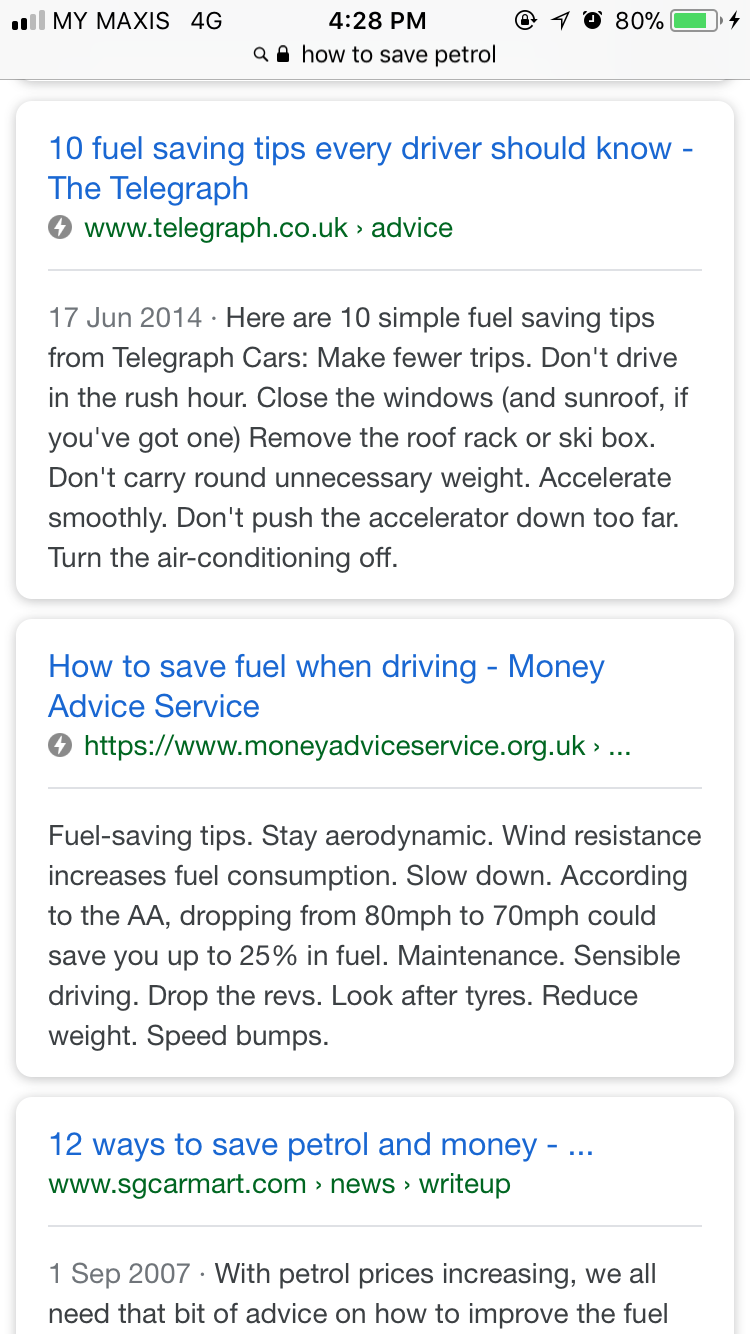
Google AMP stands for Accelerated Mobile Pages. It is an open source initiative supported by technology companies like Google and Twitter. The goal of the project is to make web content load faster for mobile users. For many mobile users, reading on the web is often slow. Most content rich pages take several seconds to load despite all efforts taken by site owners to speed up their website.
Accelerated Mobile Pages or AMP uses bare minimal HTML and limited Javascript. This allows the content to be hosted on Google AMP Cache. Google can then serve this cached version to users instantly when they click on your link in the search results. It is very similar to Facebook Instant Articles. However, Instant Articles are limited only to Facebook’s platform, more specifically to their mobile app.
Accelerated Mobile Pages are platform-agnostic and can be used by any app, browser, or web viewer. Currently, it is used by Google, Twitter, LinkedIn, Reddit, and others.
[one_half padding=”5px 5px 5px 5px”]
[/one_half][one_half_last padding=”5px 5px 5px 5px”]

[/one_half_last]
So, what are the benefits of having AMP set up for your website? Any disadvantage using AMP?
Pros:
- AMP speeds up website loading time (the reason I have a leopard as the featured image of this article). Users enjoy pages that load instantly!
- Increases mobile ranking. Although AMP is not a ranking factor by itself, it potentially has a positive influence on mobile ranking due to its faster loading time.
- Improve server performance. AMP will reduce the load on your servers and improve their performance.
Cons:
- Not suitable for website that relies on heavy HTML. The objective of AMP is to simplify stuff, so, sorry to any complicated fancy websites.
- It can’t support certain widgets and features like the common facebook page box and other dynamic scripts.
- No more pop-up window. In an AMP friendly webpage, pop-ups for email subscription or announcement will be all gone.
How to Setup AMP website using free WordPress Plugin?
Find the AMP WordPress plugin by simply typing in “AMP” into the plugin search box.
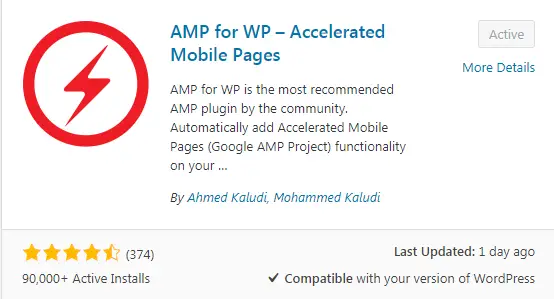
The one that I personally suggest is “AMP for WP-Accelerated Mobile Pages” by Ahmed Kaludi, Mohammed Kaludi. It has over 90,000 active installs and 4+ ratings based on more than 370 reviews.
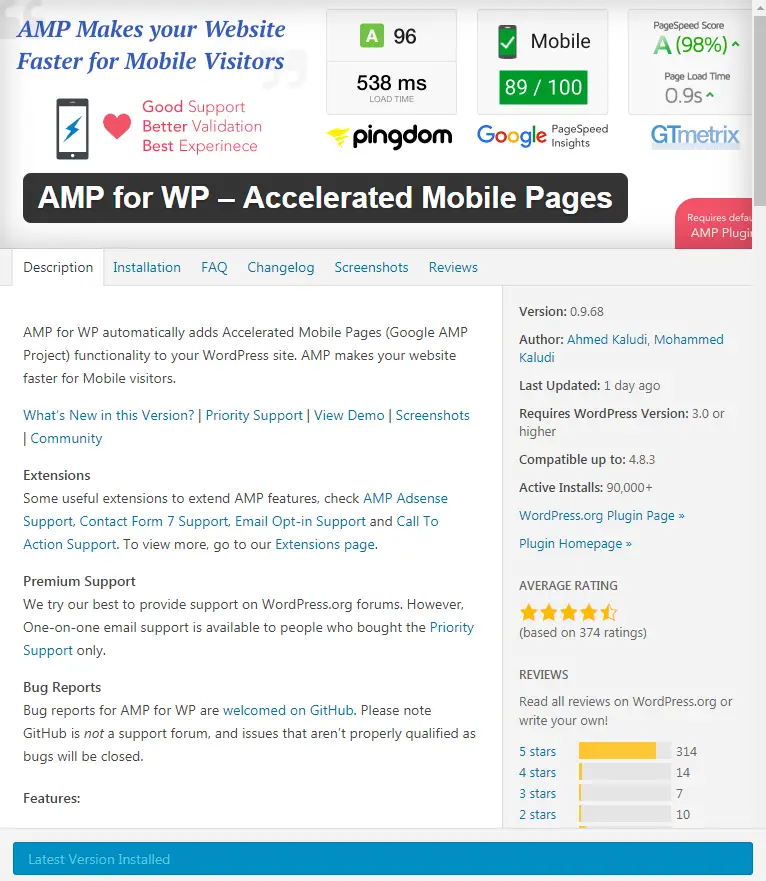
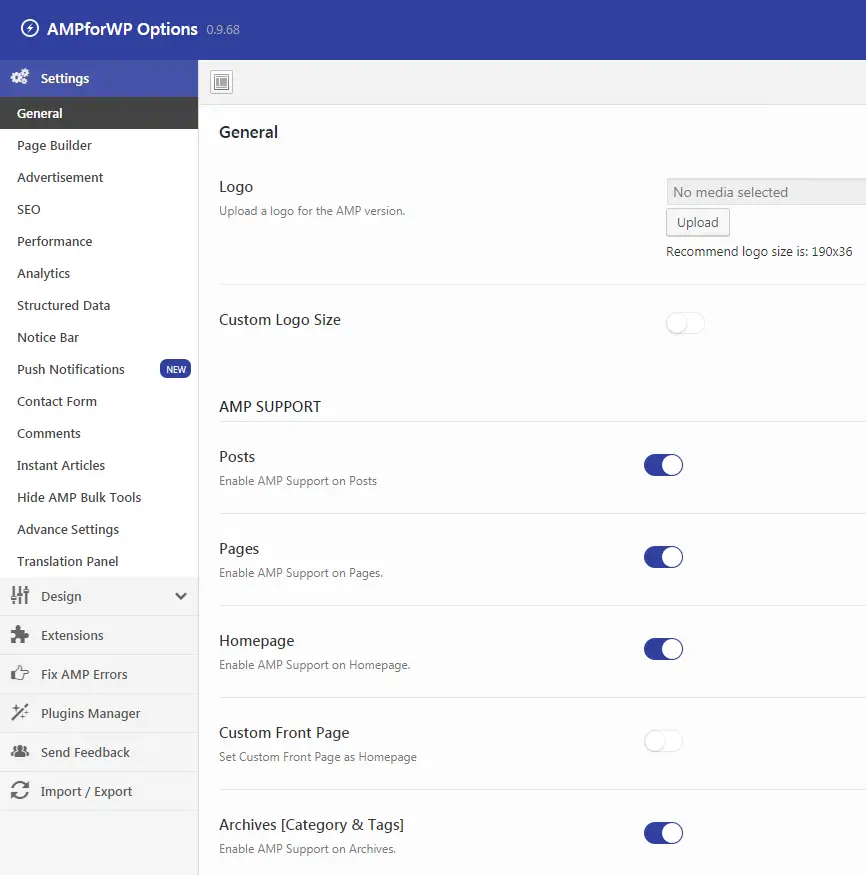
After you have installed and activated the plugin, go to the plugin settings > General Section.
Here, you can choose whether you want AMP to support Posts, Pages or Homepage, etc.
I personally recommend the options as below for blogs. You can switch them on and off to see how they look in the mobile AMP version.
There you go, you now have AMP set up for your website!
For the advanced users, you might want to test out all the other options from the settings page of the Plugin. I also recommend to switch on the Facebook plugin for AMP under the Comments setting.
How to enable Google Ads on AMP pages or posts?
This is probably the only paragraph you are looking for, and yes, I will tell you my answer now. In fact, it only takes one more step to set up your Google AdSense with this AMP WordPress plugin.
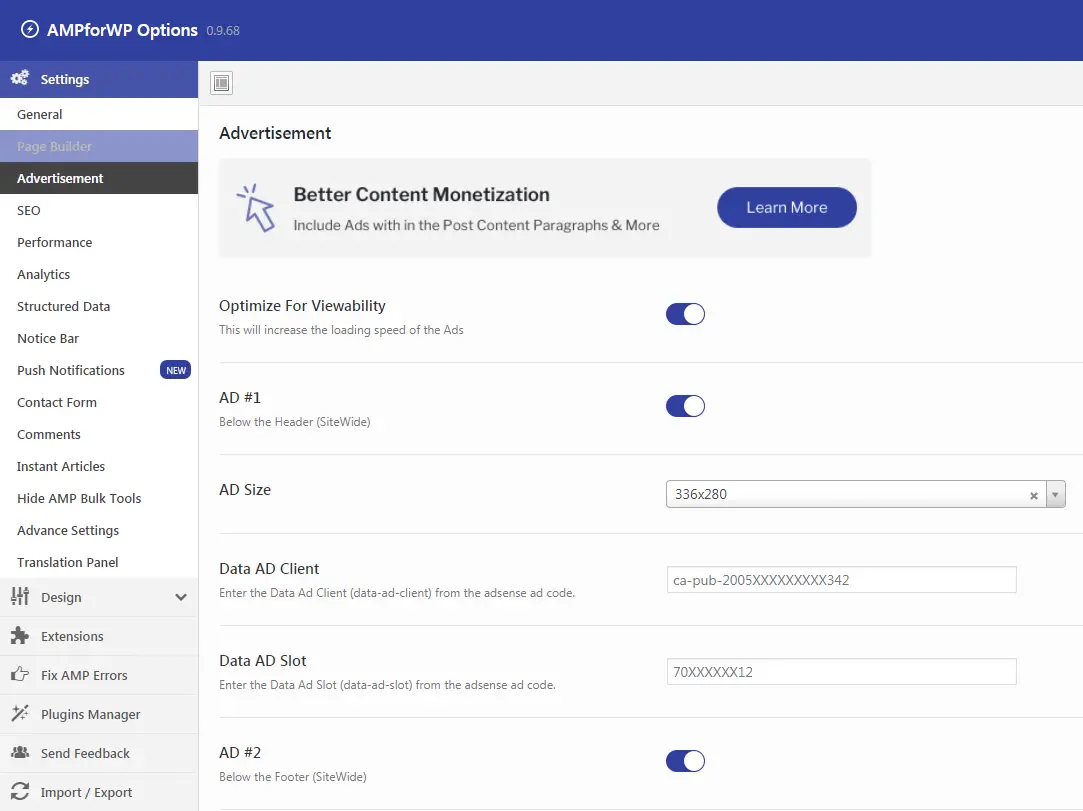
Click on the Advertisement setting for the plugin as shown below.
What you need to do next is to enable the AD locations that you want to locate the Google Ads, choose your AD size (default size works for most mobile screens), key in your Data AD Client and Data AD Slot (obtain these numbers from your Google AdSense code), and you are good to go!
Be careful, try to limit your Google Ads (max. three per page) to avoid being penalized by Google.
I hope you get the answer now! Happy earning! Comment below if you have any question.

Great site, Simon and glad to see such services offered by a fellow Malaysian.
Great blog, Simon. And thanks for the tips on enabling Adsense on AMP.
Thanks for visiting Skeneur. It’s a pleasure to hear from you!